'Advanced Format' Disks
in Sysadmin / Storage
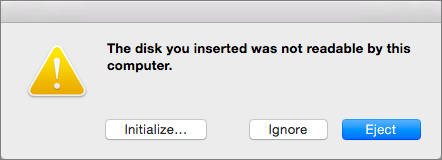
Last week, one of the drives in my desktop was having an unrecoverable read error, so I wanted to swap it out with another disk. I had a Samsung 4TB external USB drive lying around, so I popped it out of its case to put in the machine, and put the old drive (which still had some accessible data on it) in the USB enclosure. After plugging it into my laptop, the partitions appeared to be corrupted:
However, if I put the drive back in the desktop computer it seemed to be fine 🤔.
On the desktop, Disk Utility reports a 512-byte block size:
$ diskutil info /dev/disk1 | grep "Size:"
Disk Size:                4.0 TB (4000787030016 Bytes) (exactly 7814037168 512-Byte-Units)
Device Block Size:        512 Bytes
whereas it is clear that an empty file takes up 4K:
$ touch /Volumes/HD2/test.txt
$ stat -f "%k" /Volumes/HD2/test.txt
4096
Digging Deeper
A few years ago, as drives began to surpass 2TB, hard drives upgraded their sector size from the historical default of 512 bytes to Advanced Format, typically 4KB. It seems there are varying approaches to how this is exposed however.
Because many computers at the time assumed 512-byte sectors, some manufacturers exposed a 512-byte sector to controllers, even though the disk actually used 4K sectors. Some didn’t, which can lead to partition misalignment if the disk is moved to a different controller. Others have run into this problem too.
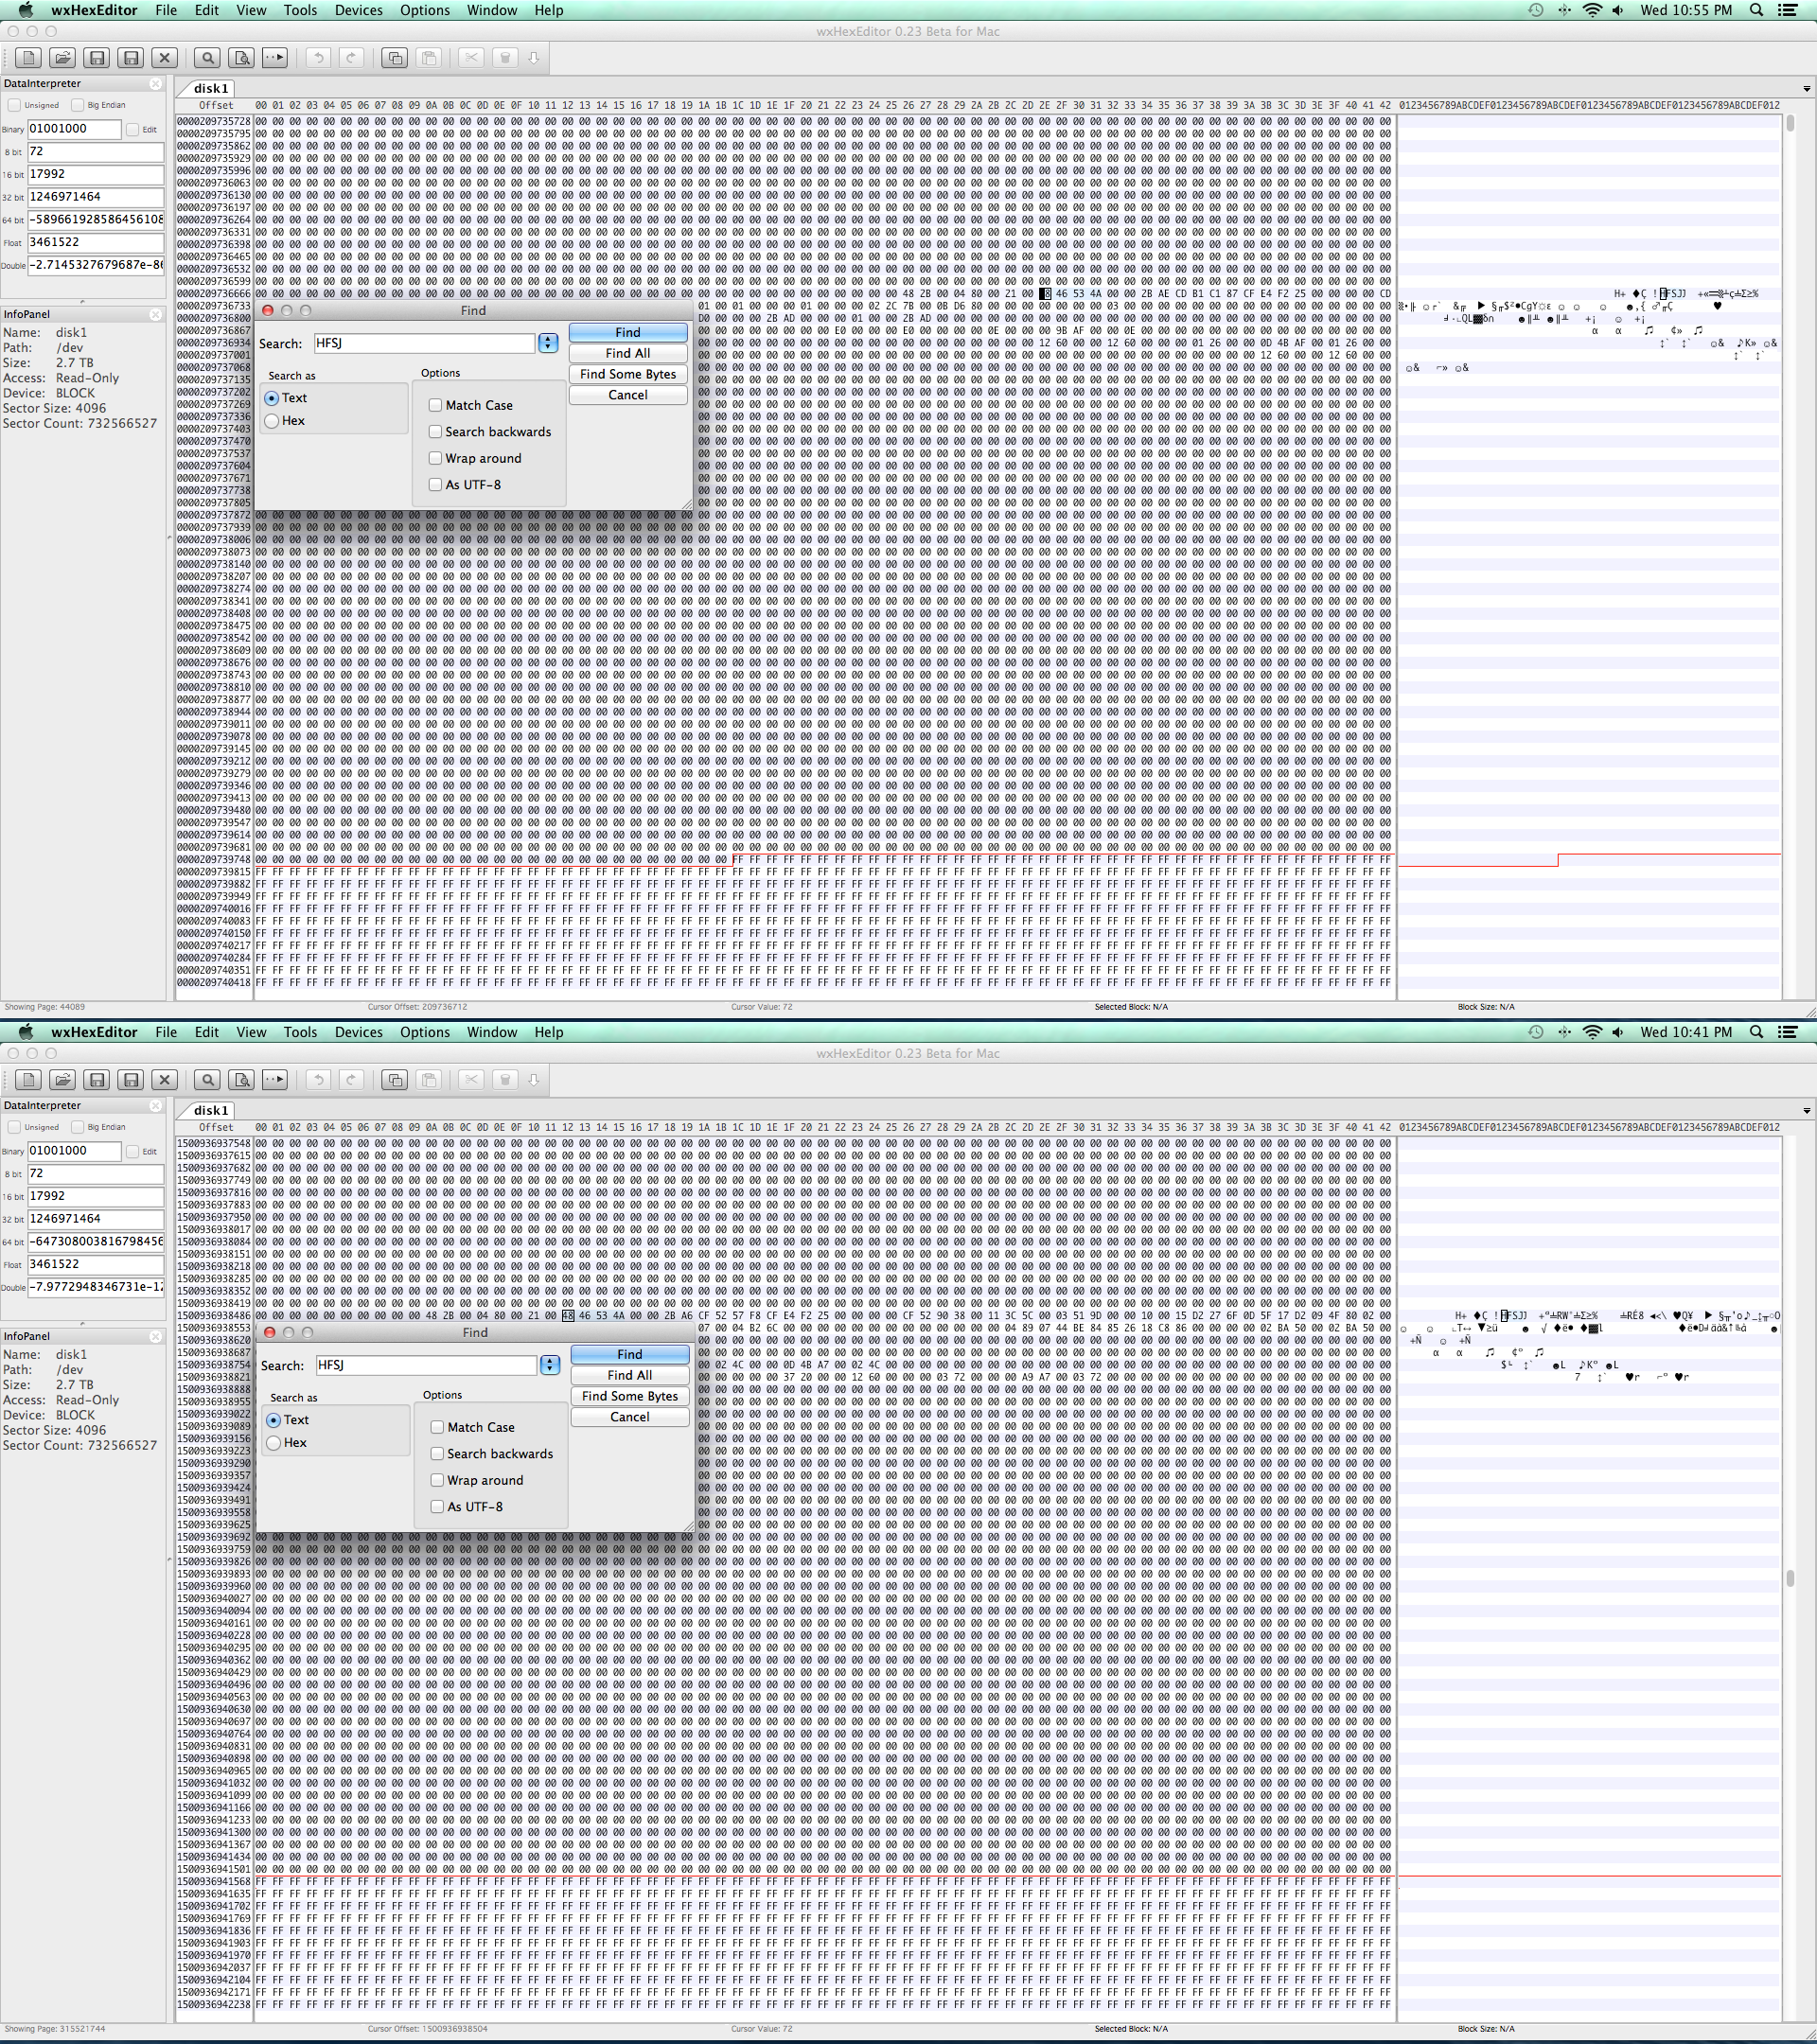
Cracking open a hex editor to look at the drive, it became apparent that the partition header for HFS was not aligned to one of the 4k blocks:
 Source: @klanomath’s great answer on StackExchange
It seems like the drive was being addressed in the desktop as a 512-byte disk, whereas the USB controller only supports 4K. So when plugging the USB drive into my laptop, the OS searches for partitions but fails to find them because they are not aligned to 4K blocks.
Recovery
The simplest way to fix the partition map in this scenario is just to reformat the drive with Disk Utility, which will create a new partition table aligned to the appropriate block size.
After first making a full image of the drive in my desktop, I set out to see whether I could recover the partitions without needing to fully reformat and re-image the drive, which would take some time over USB. Thankfully, it was pretty easy to do with TestDisk, a utility for repairing partition tables.
TestDisk was able to find the partition header for the single HFS+ partition on the drive, and rewrite the partition table with the appropriate offsets. Thankfully, since the drive had only one partition, it was pretty easy to find and fix. I’ll probably keep the backup image around for a little while just in case.